Adding an inscription to a photo
Go to Edit and select “Caption”.
The Caption tool allows you to add arbitrary text to a photo and format it.
Adding text
You can add both text and a transparent area. To add text, click the “Text” button in the edit panel on the right.
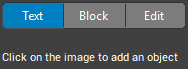
Then select the area where you want to write the text, enter an inscription and click “Apply”.
You will be in edit mode. Now the text field can be dragged. To edit the text, double-click on the text field and select the desired fragment for editing.
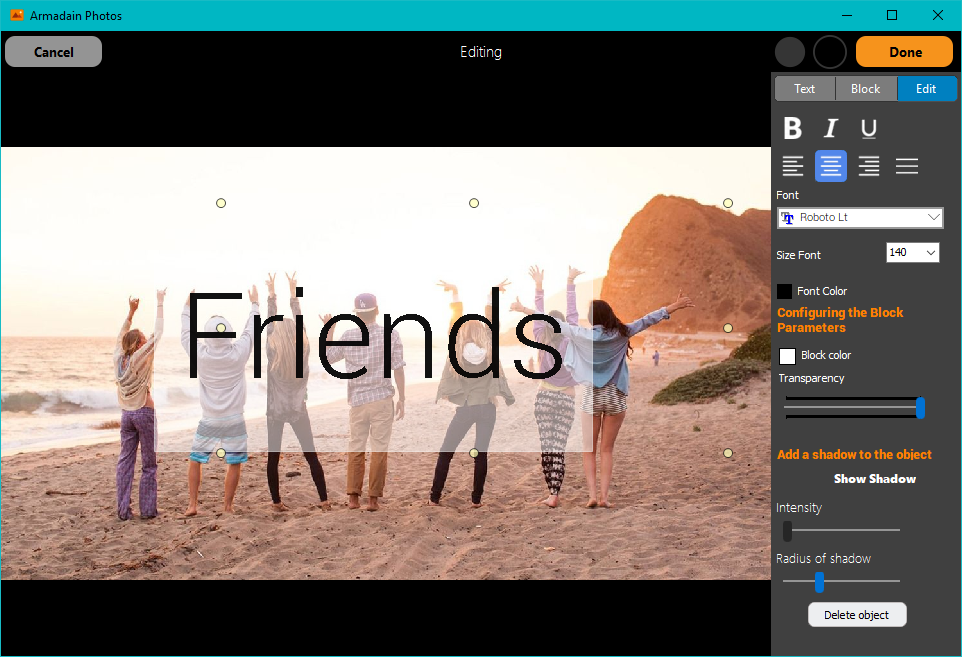
Editing text
The editing panel allows you to set the font, the size of the text, the color, the location of it inside the block. You can also apply a shadow for the text. Note that after saving the image with the text, it will be smoothed, which will reduce the shadow effect, so set the parameters a little higher than desired.
You can edit the text by double-clicking on the block with the text. To create a new block with text, click the “Text” button.
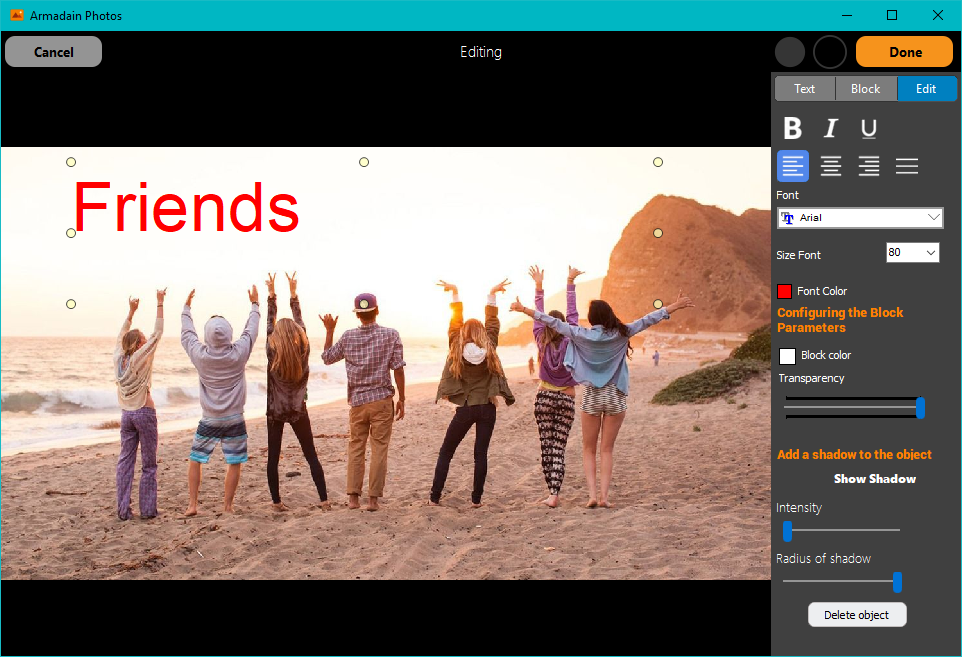
Adding a block
Adding a block allows you to focus on the text. To add a block, click “Block” and draw it according to your preferences.
After adding the block, click “Apply”. The Edit panel opens. In this panel, find the section “Configuring the Block Parameters”.
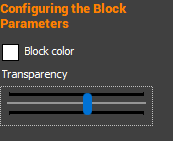
Specify the color of the block and its transparency.
Text and block
After adding the block, press “Text” again and draw a text box above the block and fill it with text.
Edit the text as you wish. You can adjust the transparency of both text and block, just selected the desired object.